
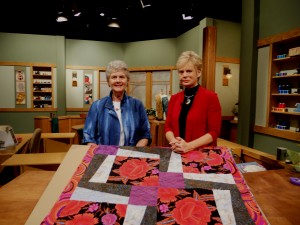
On the set of Sewing with Nancy
Our 2 episodes on Sewing with Nancy featured BQ and BQ3.
View the videos of our 2 part series:
Sewing With Nancy – Part 1
Sewing With Nancy – Part 2

Click above photo to view a larger image.
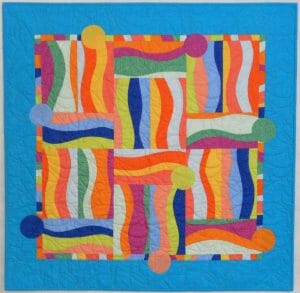
Cut full length strips (42”+) and piece together into a large strip set.
We cut the center 27” wide and used the remainder of the
strip set for the top and bottom borders. You may need to make
length adjustments to fit your curved borders.
Our project is 38.5” x 52”.
Click above photo to view a larger image.
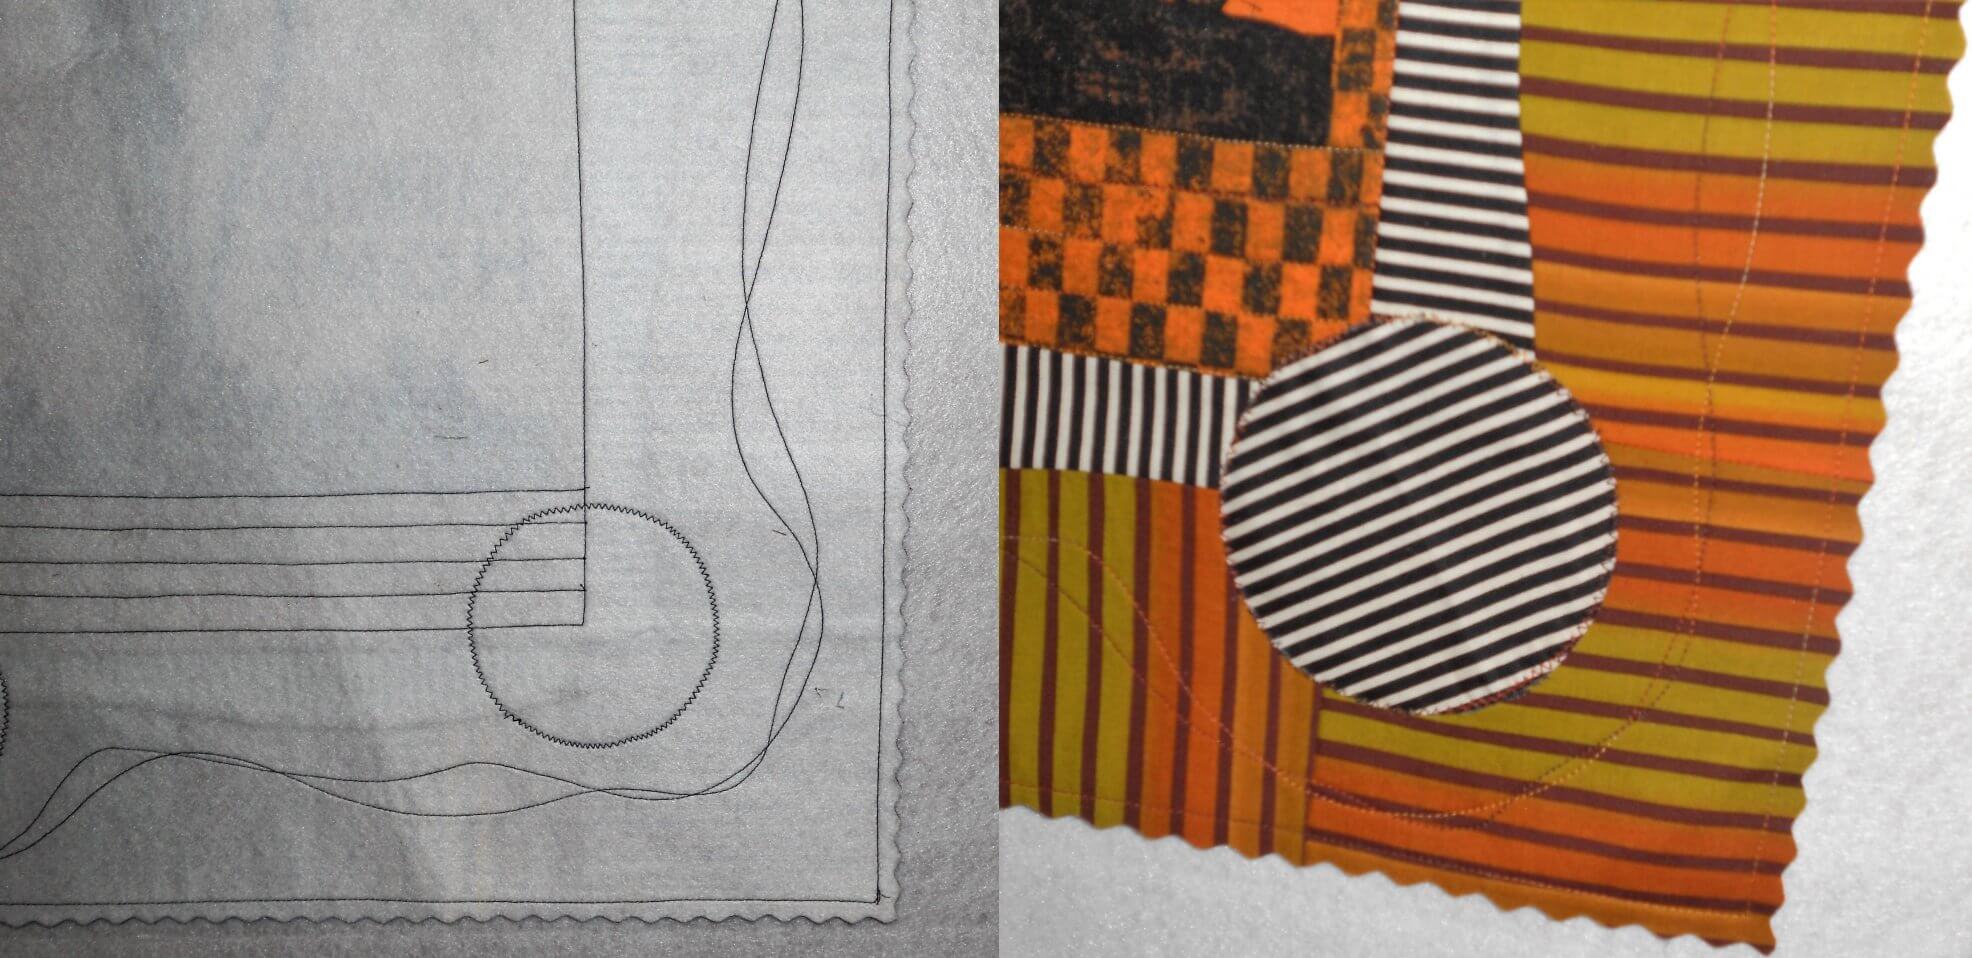
The fusible fleece is the batting and the backing for the Halloween Baby Grand. I knew it was going on the wall and I wanted to see if the fleece gave it enough heft to hang properly with limited quilting…it does hang beautifully. I also skipped the binding and finished the edges with decorative rotary cutting. Now this is a speedy project!
- Fuse using the manufacturers instruction. We used Pellon Fusible Thermolan Plus TP971F
- Quilt as much or little as desired.
- Square project and stitch ½” from edges.
- Position ruler with the ¼” line on the stitching line and trim with a decorative cutter.
Click the picture for our adapted instructions using your Bent Pieces pattern.
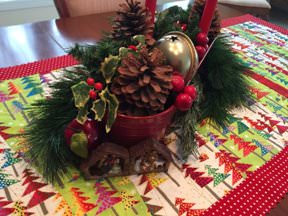
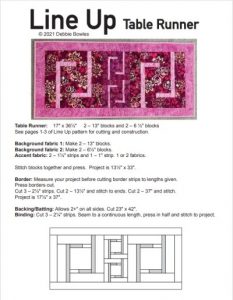
MIQ 135. The Fusible Fleece is the batting and the backing for this project. The runner will be whisked off when we use the table for eating; I don’t expect to wash it! Eliminating the backing is just one of the time saving adaptations.
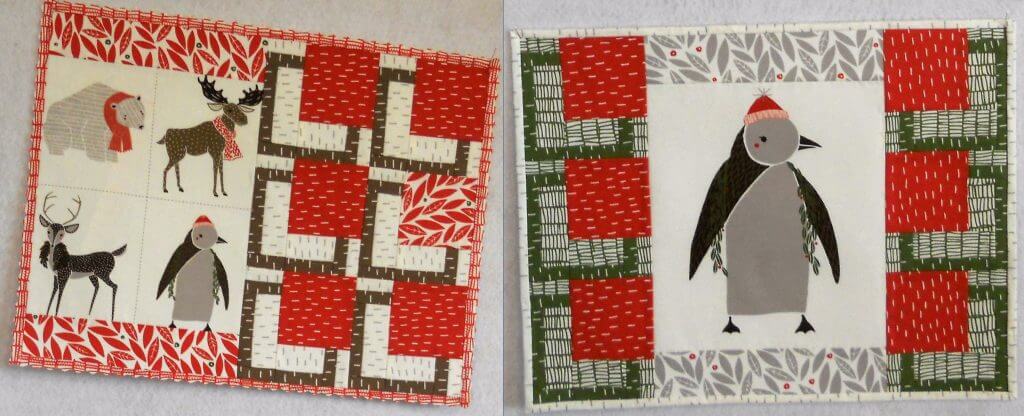
Click the picture for our adapted instructions using your BQ Goes Mini pattern.
BQ Goes Mini MIQ 828 Do you have a motif that isn’t quite the right size? See what we did to make it work. Substitute Pellon Décor Bond 809 for the backing and batting; we even skipped the quilting for our decorative mats.
Make 6 – 18” BQ blocks (MIQ 705) for each project. 54” x 72”.
Click above photo to view a larger image.
We added a 1” inner border cut from extra blocks that are not used in the wall project. Fabrics are Bedrock from Windham Fabrics. New finished size is 48” x 48”.
Cut 1 ½” segments and stitch together to create the lengths needed. Measure your top. For a perfectly pieced center (36 ½” x 36 ½”) make 2 – 36 ½” and 2 – 38 ½”. The fabric requirements will accommodate the new size but measure your project because the sizes/lengths to cut the outer borders, back and binding will be larger.

Click above image to view a larger image.
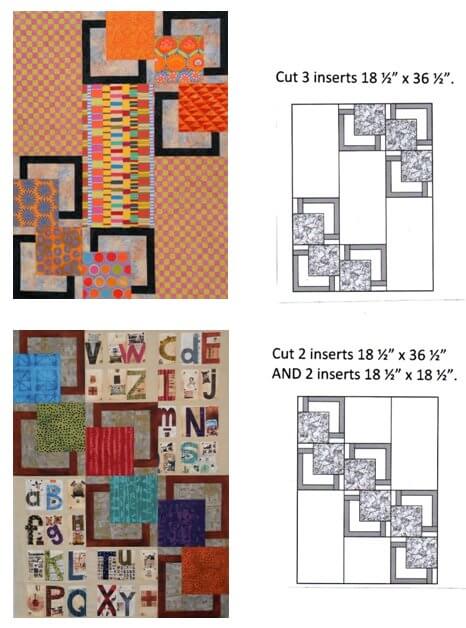
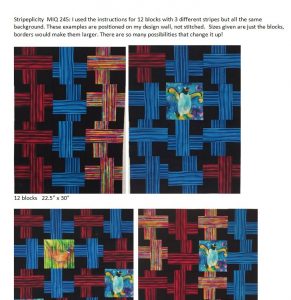
You can have scrappy fun with this bonus layout for BQ6. Although we show very large inserts and borders it would be very easy to stitch together some of your precut strips or squares to fill the sizes shown on the diagram.

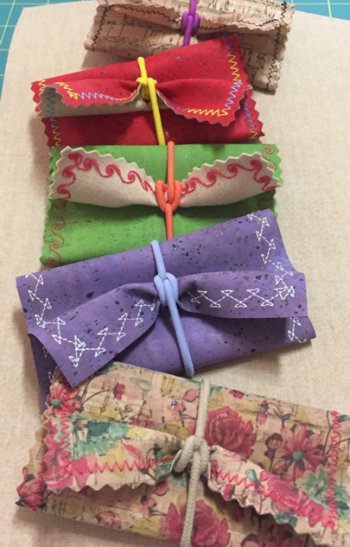
The instructions for Kard Keeper are written for cotton fabrics that are fused together.
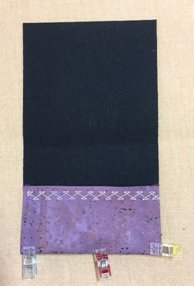 Cork has a fabric backing and doesn’t fray so it is ready to be used just as it is with no fusing.
We used a size 14 needle and slightly thicker thread
(Wonderfil 12 wt) so the stitching would show.
Instead of pins, use clips to hold the edges in place for stitching.
Click above photo to view a larger image.

Click above photo to view a larger image.
Click above photo to view a larger image.
Click above image to view a larger image.